How to Create a Vision Board
First of all, let me start off this post by wishing you a Very Happy New Year! If you are reading this in the future this was originally written on January 1, 2020. But the information is always going to be applicable to creating a vision board!
That being said, let’s get started with learning more about Vision Boards & the process.
What is a Vision Board?
A vision board is a visual piece that showcases dreams, goals, hopes & plans for your future. Today I’m going to be discussing creating a physical vision board on a foamboard as it is my favorite. You can choose to use a different medium, even a digital one if that fancies you. The science & psychology behind creating dreams and goals is real. Statistics show a written goal is more achievable and a visual one even more likely to manifest. This article is not about the technical jargon but you can either search for this information if that is your jam 😀
What will I need?
So for this vision board experience, we are going to need the following items:
Lots of magazines
(you might start asking around and collecting them in advance so you have a variety of which to look through. Ask doctor’s offices, friends, families, etc if they would mind holding a few old ones aside for you. Alternatively, if you are going to have a group vision board “party” you can ask everyone to bring a few and then share then around)
A foam board
(I get mine at dollar tree, for yes, $1, it’s sturdy/stands up by itself and is large – 24 x 36 inches so I have plenty of space) Don’t have a foam board? No problem. You can use a poster board, cardboard or even a regular sheet (or sheets) of paper!
Tape, glue or glue stick
Scissors
A positive attitude
I am told so often that someone is not “crafty” or “creative” so they avoid these things. Trust me when I say I thought the same thing at first too but now I can easily create one that I find appealing when completed. You CAN do it!
Is there an ideal time to create a Vision Board?
The short answer is it doesn’t matter when you do it but the longer answer is as follows. For me, I find it to be more effective during, or very close to, a new moon because that is a powerful time for manifesting. It is also ok to do one at the beginning of a new year or a big change (like losing your job or having to move). Full moons can also be powerful energies to do one. If you have a pull to create one and it doesn’t fall into something I’ve mentioned don’t fret, do it anyway! Trust your own instincts!
Where should I create?
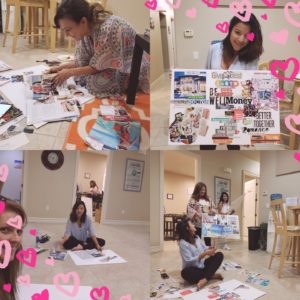
Wherever feels good. I’ve had vision “parties” at my office. I’ve created them at my table. I’ve sat on the floor most of the time where I can spread out ideas.

Should I create it on my own or with a spouse, friends or family?
Totally up to you! I have the idea to create a class in the future for couples to work on them together but all of mine thus far have been created solo. It’s fun to have other people there working on theirs as well to chat with & get ideas from but it is also empowering to sit alone and maybe even meditate or otherwise channel some ideas all on your own.
What should my board look like when it’s completed?
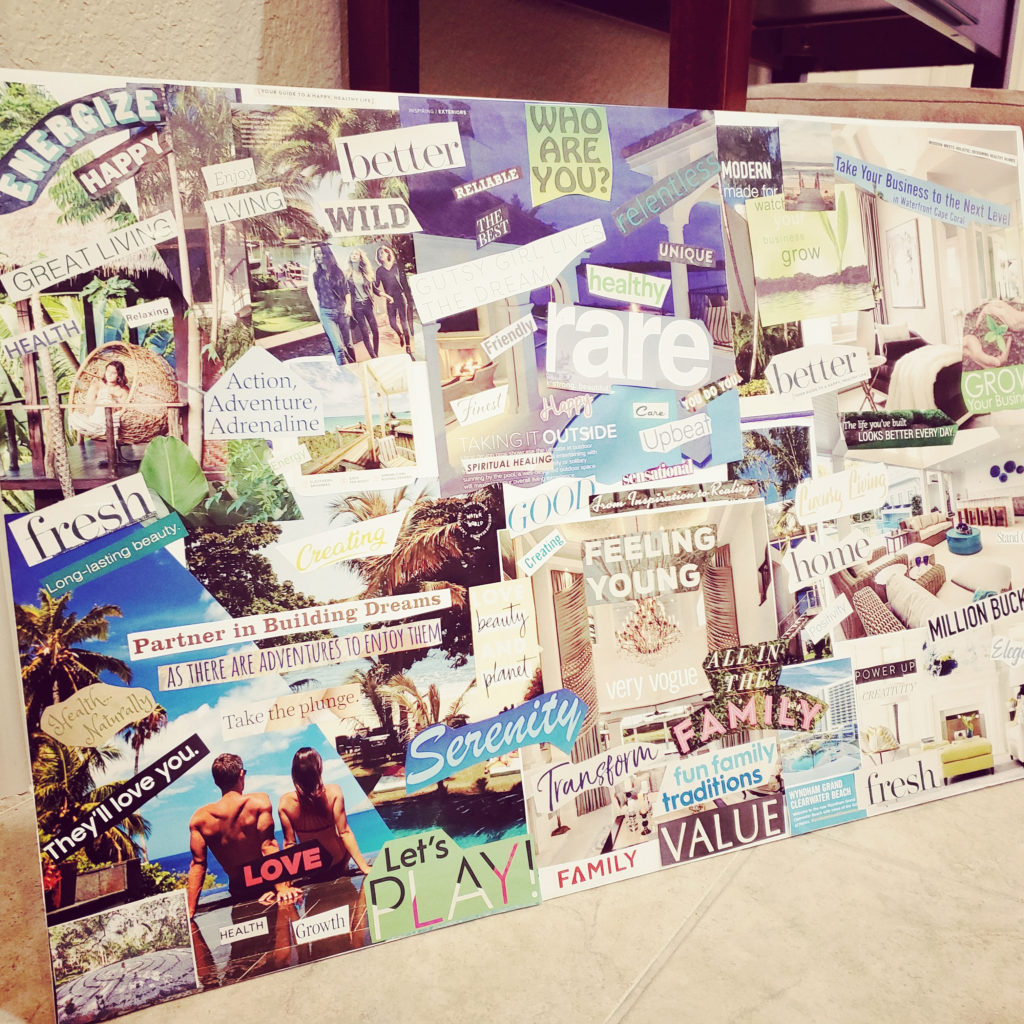
Again, this is totally up to you! I have seen some that are completely random, I’ve seen others make them color coordinated. I’ve seen some that have ideas all mixed on the board while others have segmented areas on the board separately. I’ve done them with mostly pictures and also some with mostly words & everything in between. Go with your intuition and FLOW with the process. Remember that there is no right or wrong way to create your board. Now, if you have a plan and want to focus on a certain topic or area of like go for it! But do not stress overthinking it should be a certain way.

The process should be fun! If it’s not fun consider a change to make it more fun!
The Process
First of all you grab your scissors and go through the magazines to find items that resonate with you. Cut out photos of things you find appealing, want to have, a place you want to go, a car you want to drive, an experience you would like to have, etc. And even words that feel good to you. You can cut out more than you might end up using – no worries here. But definitely cut out a ton of options.
After you have all of your cutting completed I like to arrange the parts onto the board before I glue or tape anything down. This will help you with the overall look & feel of the board. Do you want to mix things up or create sections or color coordinate it? It’s yours so get as creative as you’d like. Do you prefer things lined up or placed at angles? Overlapping? Whatever you like – go for it!
Once you are happy with your layout you can start the gluing/taping part. Take your time and don’t get in any hurry. You want to feel happy with your final piece.
I hope this has helped you understand the vision board process a bit more.
Please, leave your comments/ideas/questions below. Even better, show me your vision boards!
I love hearing from my readers! 😀
And Happy Vision Boarding my friends!!
Leave a Reply